Showing posts with label Decorations. Show all posts

Sunday, October 18, 2015

Burlap Ribbon Wreath


I fell in love with this wreath when I discovered it on Stonegable's blog last year, and finally got around to making it for fall this year.


It is so simple to make and can be used year round by just changing the embellishments added to the burlap wreath base.

Materials Needed:
  • Wire wreath form (three slat type)
  • Burlap ribbon (20 yards of 4" wide)
  • Fall embellisments
  • Wire to assemble embellishments on wreath

First start by folding your burlap ribbon in thirds and weaving through the wire form.


Pull a loop up throuth each gap in the wire wreath form, and I like to do either 3" or 4" loops.  

It helps tremendously when Chance, our laborador retriever, helps with the assembling.

After each row of three loops, twist the burlap two times and then weave the loops going the opposite direction.  Continue to weave the loops back and forth and make as full or loose as you would like, depending on how full you want for the final look.


The more full you want your wreath, the more burlap material you will need.  Make sure to plan ahead, as I initially started to pack the loop rows tightly for a fuller look and I ran out of burlap. Since I had purchased my ribbon last year, I could not go back and buy more ribbon, so I had to undo all my loops and start over.  My final wreath used two 10-yard spools of 4" ribbon. 

Tuck the end of the ribbon inside the wire form, and secure with wire. After you're done, twist each loop until you get the desired messy look and to cover any wire wreath form that is showing through loop gaps.


I adhered seasonal embellishments with wire (I used pine cones, leaves and fall berries).  That way, you can easily change out these additional decorations for each holiday or season. 


 Happy Fall!


Tuesday, January 21, 2014

Baby Shower & Paper Mobile Garland

We had a baby shower for a friend Diana and she is expecting a boy.  We celebrated in an office conference room, so I put together a paper mobile garland background over the serving table to make bring in some color elements to the room.


 Continue reading if you want to see how to make the paper mobile garland.  They are very simple but take some time, so I cut them out one night while watching a movie.


You will need:
  • Sheets of paper (I prefer 80# cover paper - 8.5x11")
  • Scissors
  • Paper cutter
  • Sewing machine & thread
I prefer using 8.5 x 11" paper and cut lengthwise into two 4.25 x 11" strips, but you can also use 12 x 12" paper and cut into three 4 x 12" strips.

 
Then make 1" cuts across, but do not cut all the way through as the diagram above shows.  You will want the longer strip of paper to remain in tact until after you sew cut strips.  Next sew down the middle of the strip and add multiple strips end to end, depending on your desired mobile length.  I used 4 strips end-to-end for each colored paper mobile strip.  My serving area credenza was over 8 feet in length, so I made 15 strands to extend the 8' length, each consisting of 4 paper strips end-to-end.  I used 10 sheets (8.5 x 11') of each color paper for a total of 60 paper strips (30 sheets cut into two long strips each).

After you have sewn your strips together, cut along the long edge length so all 1" strips are no longer connected.  And that's it!  Hang above the table and they will add a festive look.


Here are some more photos from the shower
Covered water bottles keep the party's color theme.

My recipe is here for these mini cheesecakes served in small mason jars.  Lemon Blueberry and Peanut Butter & Chocolate flavors.
Chocolate candy dipped Pretzel Rods here

Square pretzel salty sweet treats like I made here

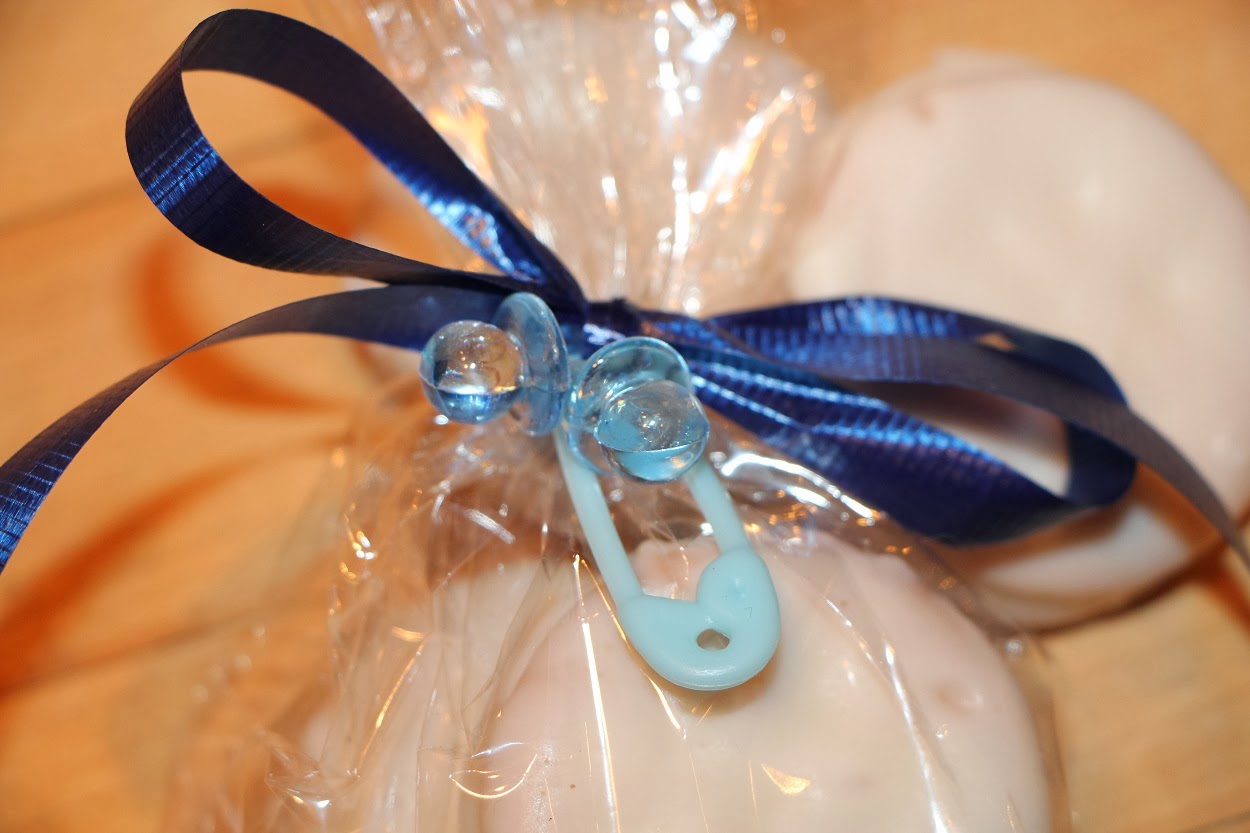
And no party is complete without Party Favors.  These are Kansas cookies wrapped in cellophane.
It was fun to celebrate Diana's first baby with blue theme throughout.


Wednesday, November 20, 2013

Burlap Placemats DIY

Burlap is popular this season, so I wanted to make something and found these simple placemats at StoneGable and they were so easy (I'm not kidding)!
 
These are great for fall table settings, but all you need to do is change the accents and you could use them year round.  Add some blues and seashells as a center piece and you can use all summer too.
 
All you need is some burlap ribbon (10 yards per place mat), tape measure, scissors and glue gun.  I used 1-1/2" wide burlap ribbon with wired edges for a 13.5" x 18" placemat.  Wired edges gives the ability to reshape when needed and I like a border along the length of the ribbon.
 
Cut 9 pieces of burlap 20" long for the horizontal strips
Cut 12 pieces of burlap 15" long for the vertical strips


Lay all horizontal strips down in rows and weave the vertical strips over one horizontal strip and then under the next until you have woven through all 9 horizontal lengths.  Repeat this with the remaining 12 vertical strips and tighten the strips close together to minimize any gaps.
 
 
I found it easier if I started in the middle and worked from either end.  You will want to leave 1/2" on all ends for gluing. The extra length of each strip allows you to trim the ends to an even measurement after you have completed weaving in case the burlap has frayed during the weaving.
 
To glue the edges underneath, the method depends on whether it's a top row or bottom row edge.  On the strips that end on top of a strip, apply hot glue and fold the strips 'over' and glue underneath on the back side.  For the strips that end the row "under" a strip, first glue the end back on top of the same strip so the fold butts up flush with the outer edge of the strip lying on top.  You then glue this folded end up under the back side of the top layer to give an even edge. 
 
 Even if it's not perfect, it looks good once you add your place settings.


 This was such an easy project and I LOVE the results !!
 

Thursday, October 31, 2013

Happy Halloween

For our door wreath this year, I took this prior year's raffia fall wreath, added a Halloween sign and black ravens to welcome trick-or-treaters.
 
 
I also found huge white pumpkins to adorn the front porch and planted Chrysanthemums mixed with cabbage plants for the pots.  I got the idea while in Chicago last month to place small white pumpkins in the planters and love how it looks.
(Blurry photo) But I added fall color to spruce up these thinning tree pots for Hallow's eve.
 

Friday, August 30, 2013

Balloon Bouquet Centerpiece

Here is a fun and simple idea to make any celebration festive with a balloon bouquet centerpiece!

 
These are great for kids parties .... or just to liven up any table décor occasion.
Mia Grady wanted her own balloon bouquet to take home
All you need:
  •  260Q latex balloons (long thin balloons used for balloon animal shaping)
  • Air
  • Time
INSTRUCTIONS:
Fill only the top 3-4 inches of each balloon with air...no more than twice the length of your thumb (you'll see why below).
 
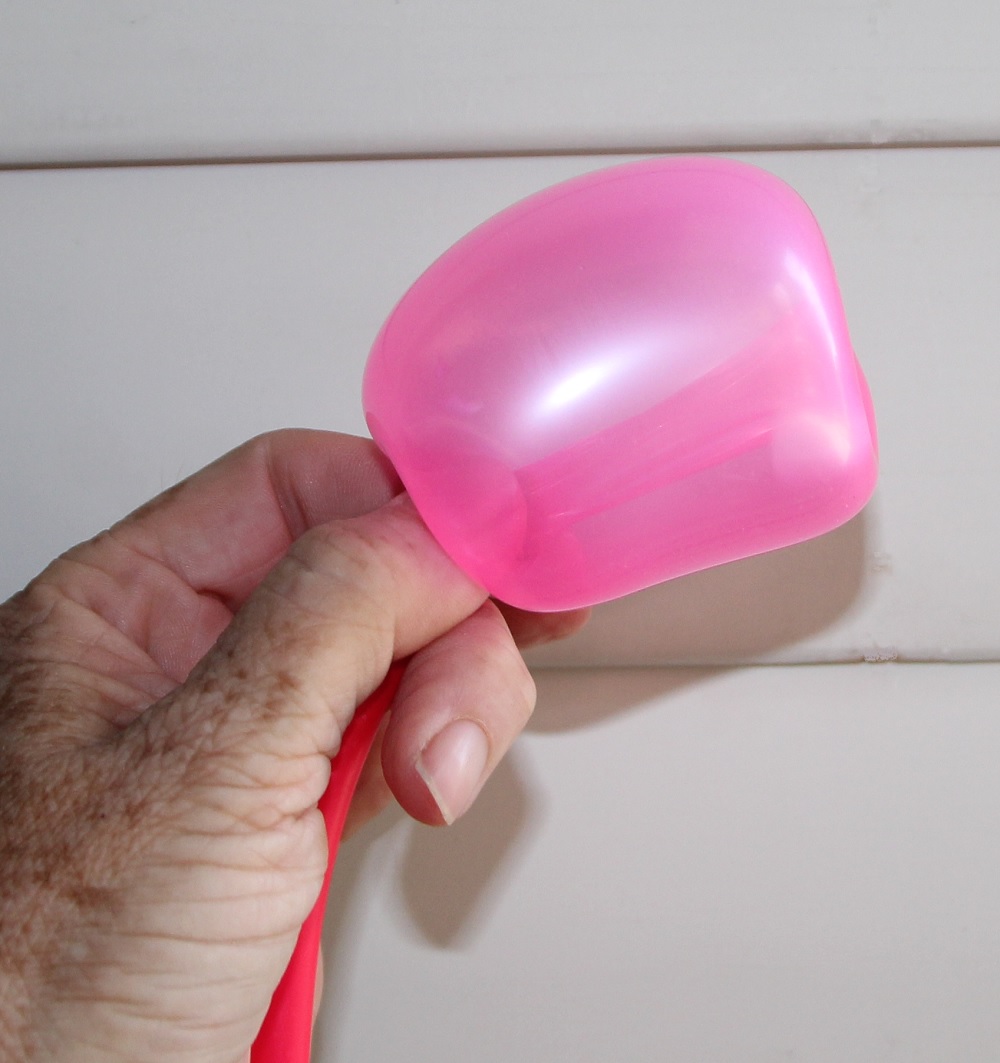
With your left hand, tightly pinch the 'tale' of the balloon underneath the portion with air, so no air can escape into this tale.  Then place the tip of your right thumb on the top knotted portion, and push this knot with your thumb down through the center of the air-filled portion until you can grab this knot with your left hand's thumb and index finger.
(This process rarely pops the balloon since the entire balloon is not air-filled)
 
 
Once you have a firm grasp of the top knot in your left hand, both your thumb and index finger will have both the top knot and balloon tale in between the same pinch. 
This is what forms the blossom.

With your free right hand, proceed to twist the balloon above this knot and pinched tale portion.  Twisting a few times will secure this "bloom" in place with the tale becoming the bloom's stem.

Voila!  Repeat this process... and you have a fun bouquet!!


NOTE: Mayflower Distributing is source I use for these long balloons.  I prefer Vibrant & Neon Color Assortment).   Here is their Cerritos, California store location address

Monday, November 5, 2012

Decorative Votives


For my wedding reception, I wanted to add votive candles that accented the color theme throughout the reception tables.


I was able to use paper scraps from the accent paper I used on the wedding invitations and I also utilized our monogrammed "J" copper wax seal again that we used to seal the wedding invitations.

All you need is:
  • Votive candles
  • Paper
  • Ribbon
  • Metal stamp
  • Wax sticks (now made to be used in glue guns)
  • Glue gun
  • Scissors
  • Double-sided tape

Pre-cut paper and ribbons to a size slightly larger then the candles, then secure the base paper in place with double sided tape.
Tim wanted to have a monogrammed wax seal on our wedding invitations, so as I was hunting for a source to find wax sticks, I discovered the wax now comes in the size/ and shape of a glue stick ... to be used in your glue gun!!!  Who knew?  How convenient to no longer need a candle's flame held under the wax above an envelope until it melts (you'd only recall this method if you're older than 30)!!  Wax seals are my new favorite thing!!
  Place wax paper underneath the ribbon, so you can easily lift the wax seal off your base surface and it only sticks to the ribbon. After heating Melt a wax area large enough to accommodate your seal width in the middle of your ribbon. Allow wax to slightly harden by cooling for 10-15 seconds before pressing your seal in the wax. Hold seal for 5 seconds. 
If you're using a round votive, gently pull the wax seal from the wax paper while it is still supple.  This way, as you wrap the ribbon and seal around the curved votive, the wax takes on the curved shape. Adhere underneath with double sided tape cut to the width of the ribbon.  You will need tape on either end of the ribbon to adhere to the candle

Voila!!! 
These coordinated votives are simple and easy to make and complete any table theme.


Thursday, May 24, 2012

50th Birthday Celebration

My dear friend Debbie turned 50, and I had the privilege of decorating the tables for her dinner party.  The birthday celebration was in Laguna Beach, CA, so I went with a seashore theme.

I already had blue chiffon strips that added color to the table.  I love starfish, especially their orange color, so I found some  inexpensive glass lanterns to tie in this accent color.

Ribbon-wrapped glass vases help hide the floral stems
and I like how it helps the flowers blend in with the table color theme.

I also found some flat jute ribbon that I used throughout,
adhering a strip to the lantern along with one seashell for simplicity.
 Lori found these incredible seashells made of chocolate and peanut butter that were the perfect party favor!                                                                                I printed the menus on vellum paper and adhered them to the tan paper with double-sided tape.  Another shell on the same jute ribbon turned a simple menu into something very special.  
                                                        
The tables in the dining room.

While I thoroughly enjoy decorating,
the main goal was to make the birthday girl feel incredibly special.
We had a wonderful evening celebrating Debbie, who is an amazing friend to all.

 
HAPPY BIRTHDAY, Debbie!